Step-by-step: how to change the chatbot's agent image or load your own image
To change the chatbot's agent image:
1. Log in to your chatbot control panel
2. On the top menu bar click on "Tools & Settings"

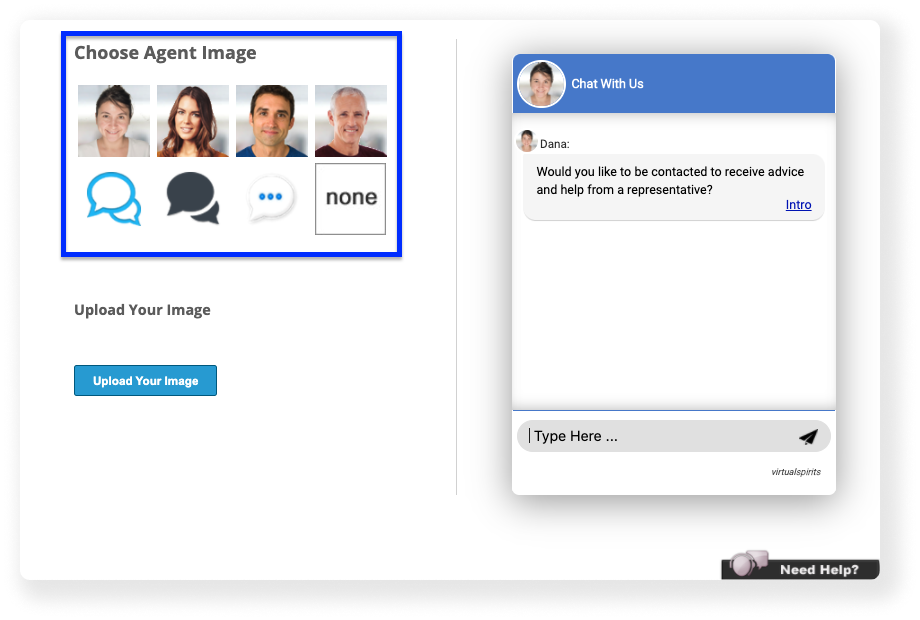
3. Inside "Tools & Settings" page, select "Agent Image".
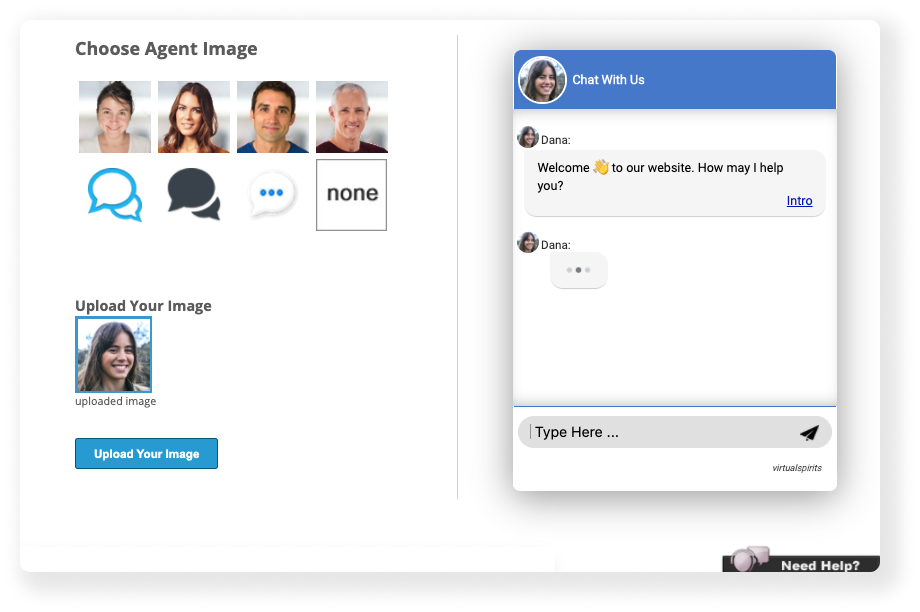
4. Choose one of the available images of a service assistant or a chat bubble. You can also choose not to have any image by pressing on ‘none’
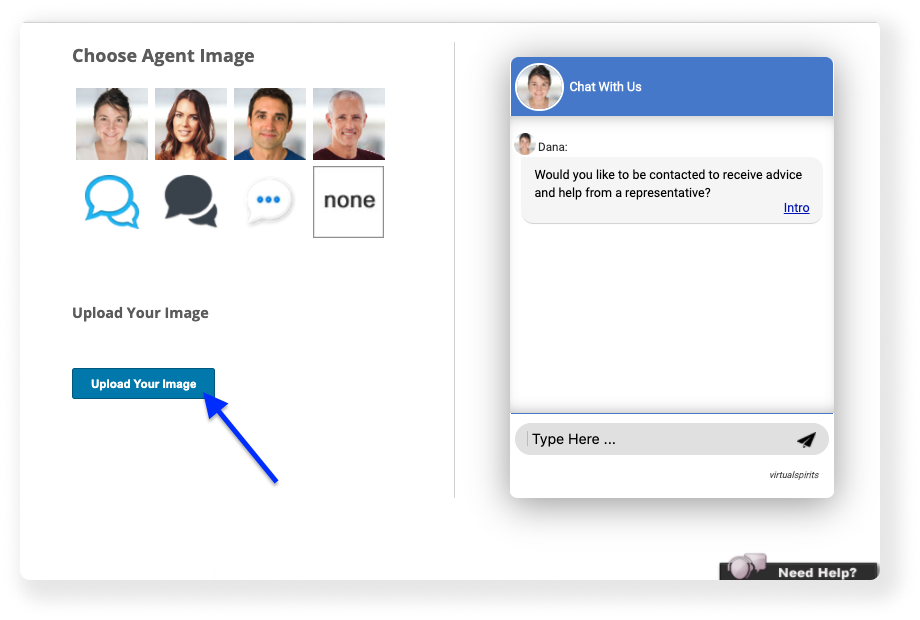
Alternatively, you can upload custom images too.
1. You can use your own custom image by pressing the blue ‘Upload Your Image’.
Note that your image has to be of JPG, JPEG, PNG, GIF formats only, and up to 50KB.
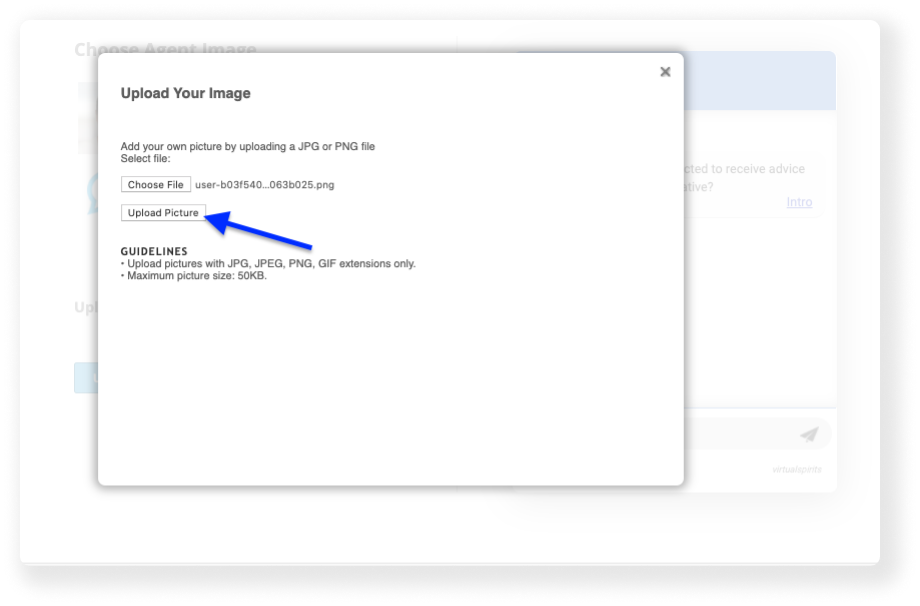
2. Click on the ‘Choose File’ button to choose a file from your computer.
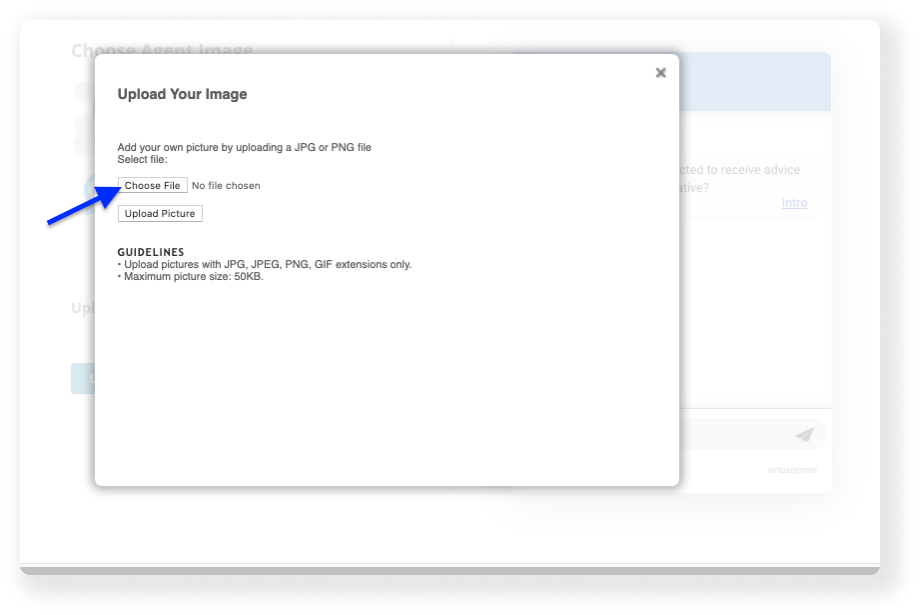
3. Press on the ‘Upload Picture’ button
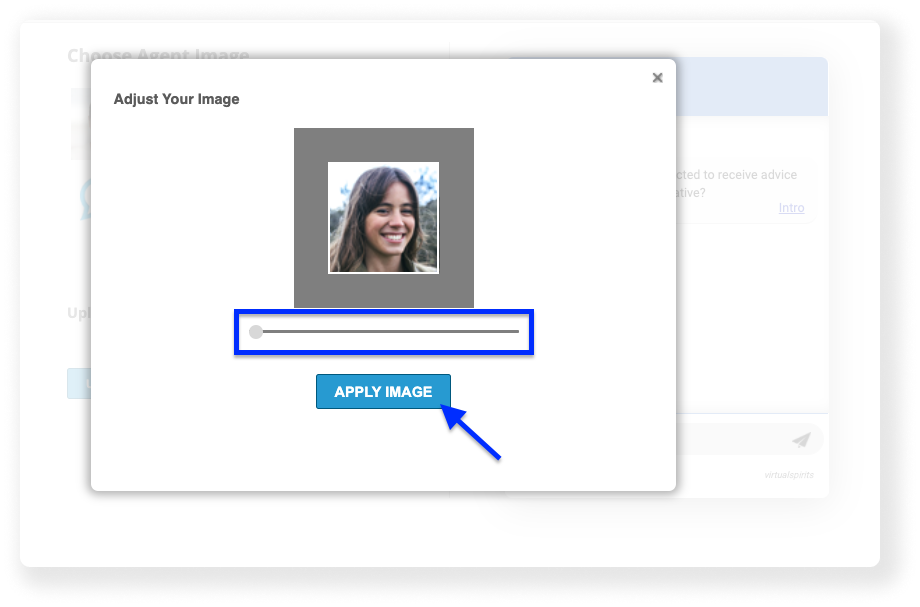
4. Use the slider to zoom in or out of the picture. When you’re satisfied with the way it looks, press on ‘Apply Image’
5. Make sure to choose the new image you added
Note: If you’d like to have a different image being used as a floating badge/button, Go to "Tools & Settings", then select "Button Style" and repeat steps
