Step-by-step: How to change your chatbot’s introduction sentences and shortcuts
You will want to change the first sentences of the chatbot's conversation to engage your website's visitor in the most effective way.
1. Log in to your chatbot here control panel
2. On the top menu bar, press the "Tools & Settings" button and then select "Chatbot Intro Script".

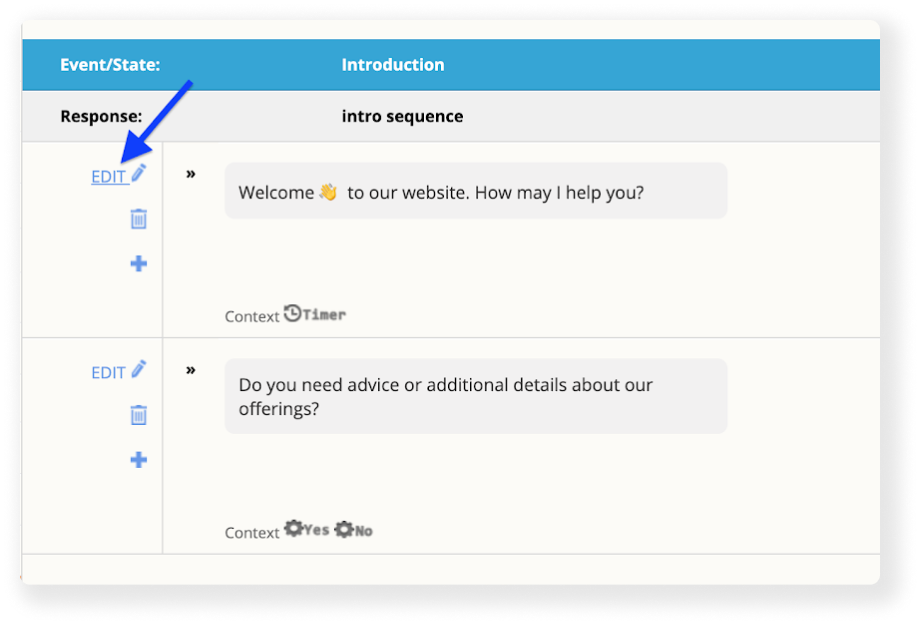
3. Now you are in the introduction editing screen, you can press the ‘Edit’ button to edit the text shown.
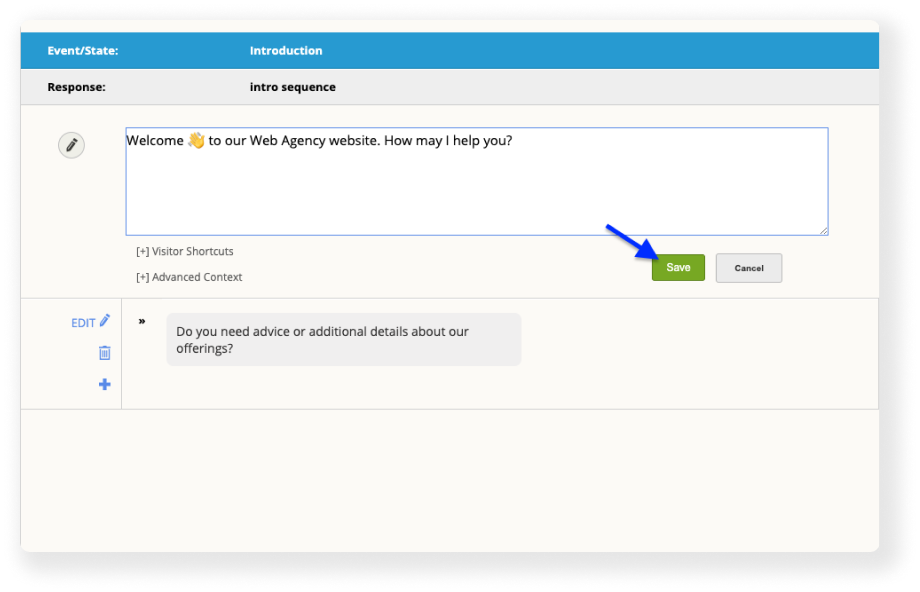
4. Now a textbox will appear. Enter the new text and press Save.
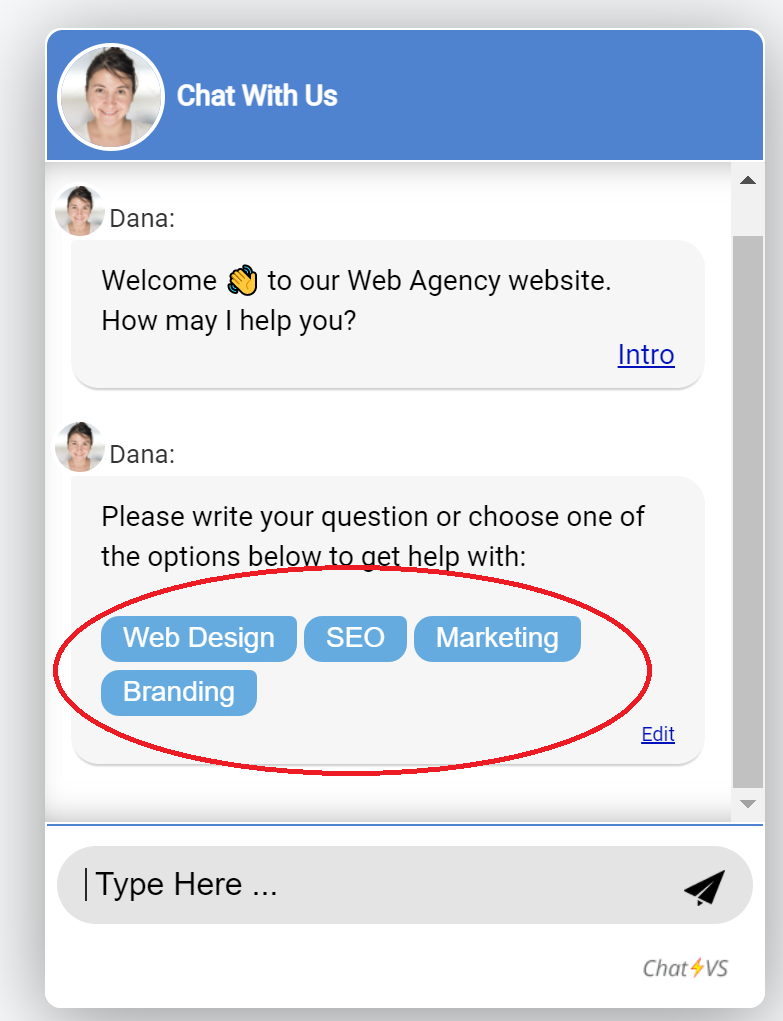
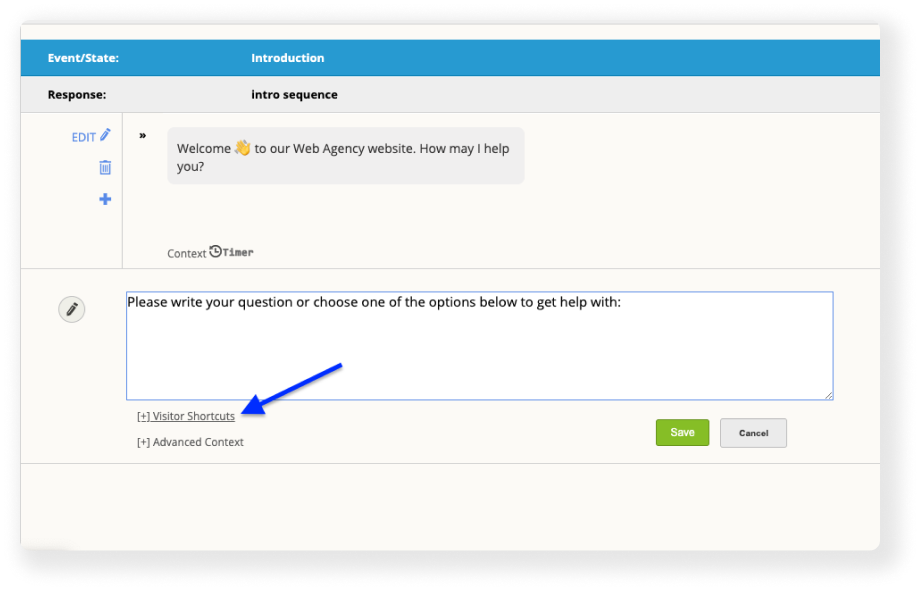
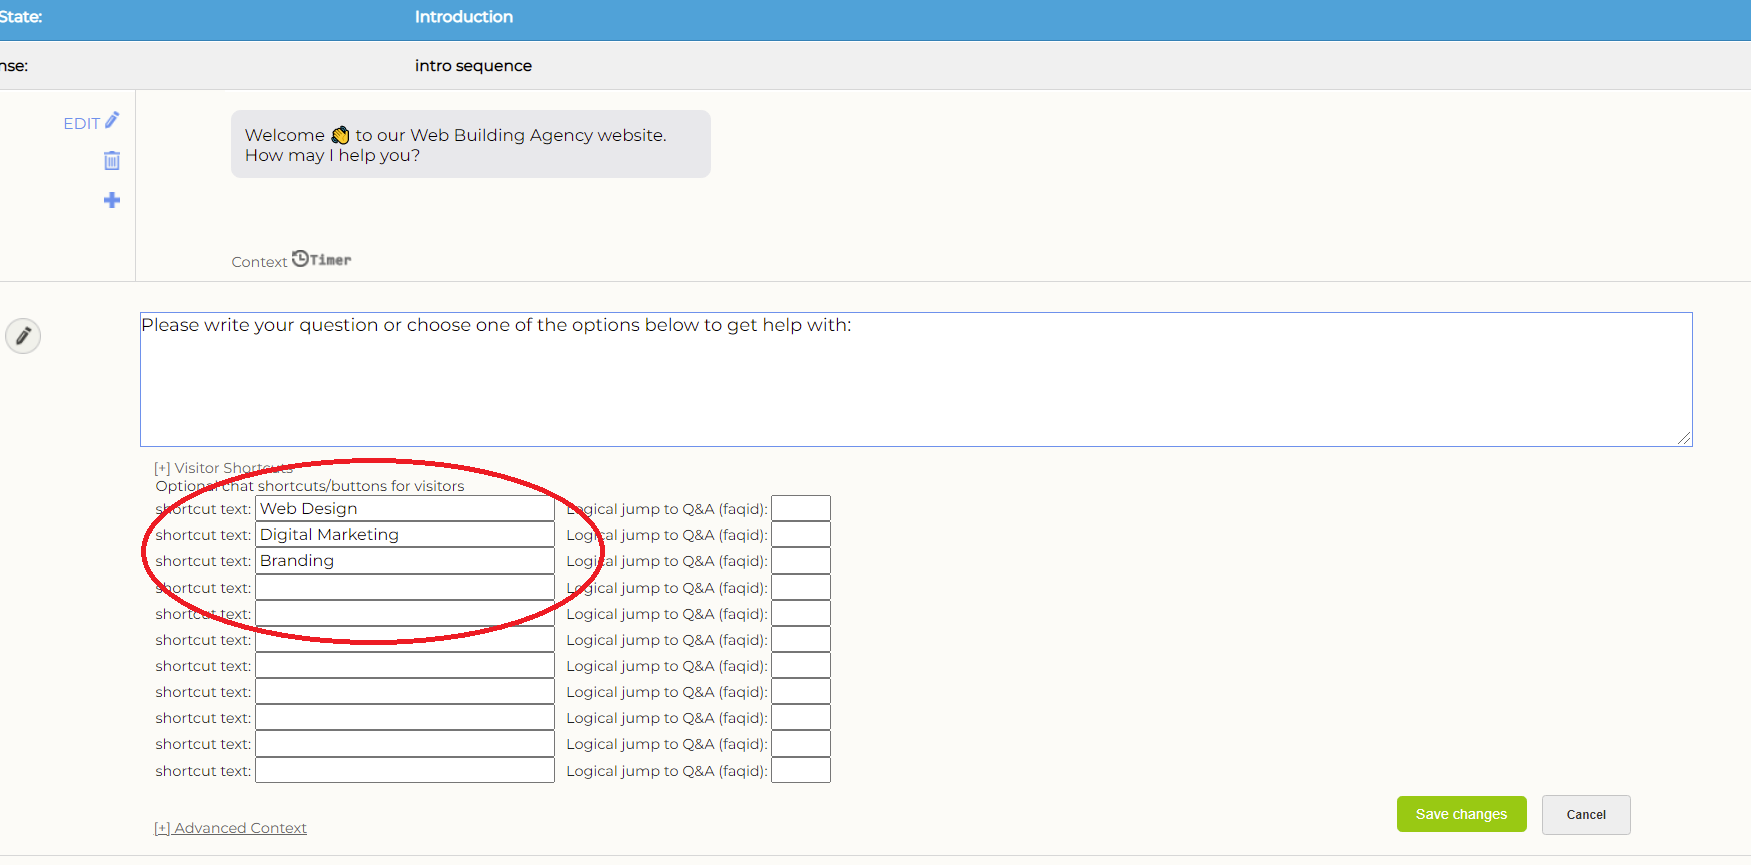
5. Repeat step 4 for the second message. You can also press on “[+] Visitor Shortcuts” to add shortcuts that will appear right after the sentence
6. Add the text for the shortcuts and press 'save'. Note that when the visitor will click on these shortcuts it will be as if the visitor typed this text in the chat. Now if you want, you may add the faqid of Q&As that you already configured inside the chatbot (e.g. faq2, faq22, ...). In that case the chatbot will jump to that specific Q&A when the shortcut is pressed by the visitor. Check there are Q&As for this in your chatbot, otherwise create a new Q&A (answer).

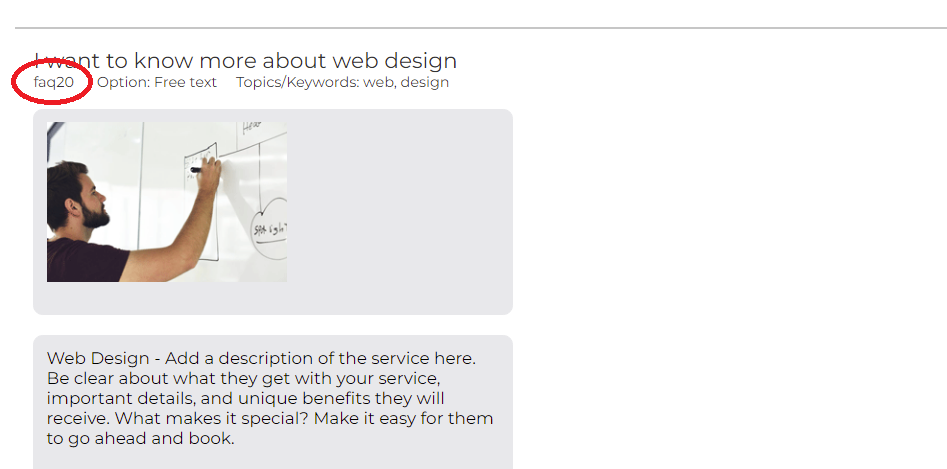
Note: You can find the faqid of an answer by clicking on link the 'Chatbot's Q&A'. The faqid can be found next to each Q&A. See screenshot below.
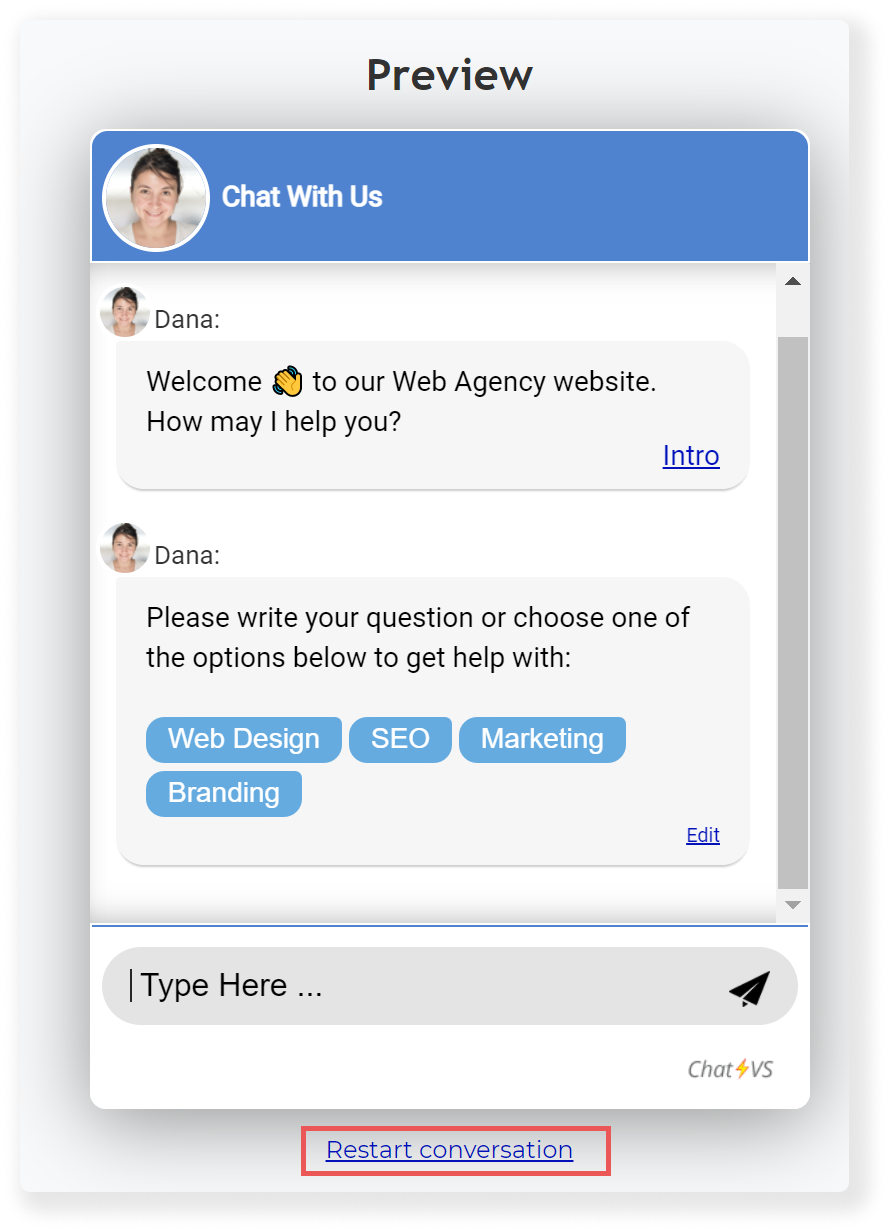
7. Go back to the "Dashboard" and look at the preview on the right side. You can trigger the introduction back by clicking
"Restart conversation" that is located under the chat window. Check out your new introduction.
Note about Advanced option: In case the shortcut display text should trigger a different action text then add this as follows: textdisplay || textaction