step-by-step: add a chatbot to Wordpress site using plugin
Add the Chatbot to your WordPress site in a few simple steps.
Important: This guide is for WordPress.org sites.
The WordPress.com blogs do not allow you to embed such JavaScript code.
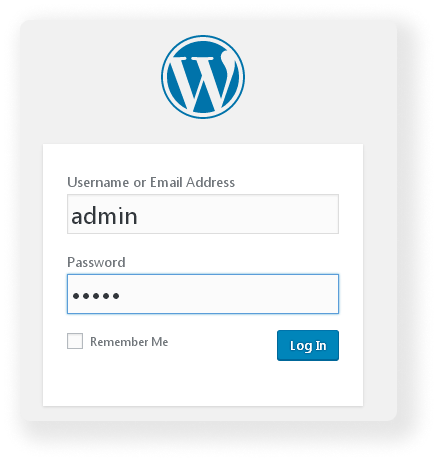
1. Sign in to your WordPress admin panel.
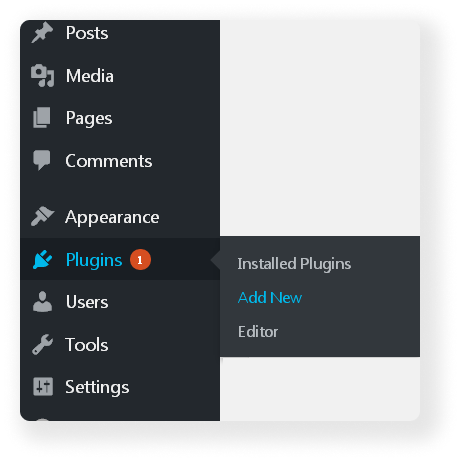
2. Access Plugins > Add New from the WP menu.
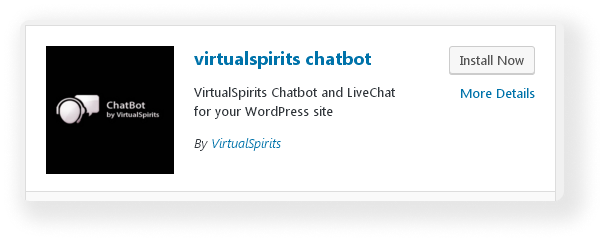
3. Search for 'VirtualSpirits Chatbot'
Press 'Install Now' and then press 'Activate'.
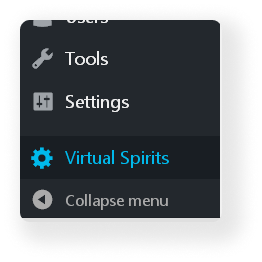
4. Click on 'virtual spirits' from the WP menu
5. The 'Virtual Spirits' plugin settings loads. Add your ChatbotID and select 'Enable'. The press 'Save settings'.
You can find your ChatbotID in the VirtualSpirits control panel 'add to website' formatted as key: sa12345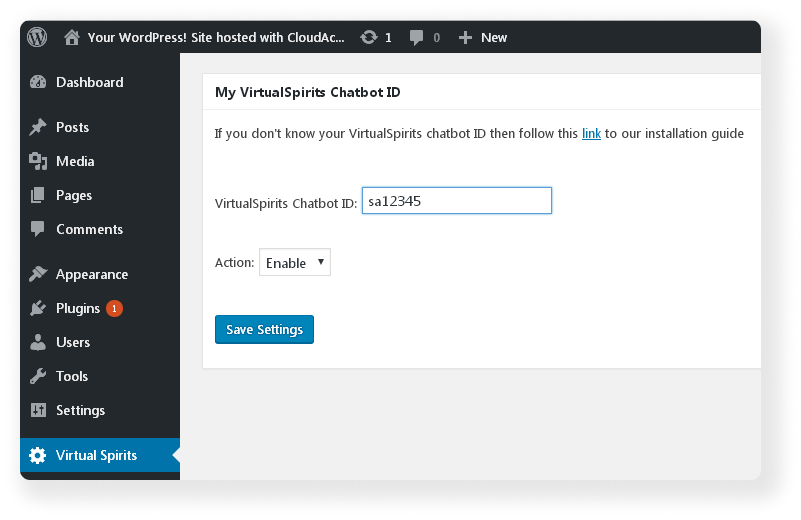
6. Press save. If the Chatbot does not appear on your website immediately, please refresh your website page